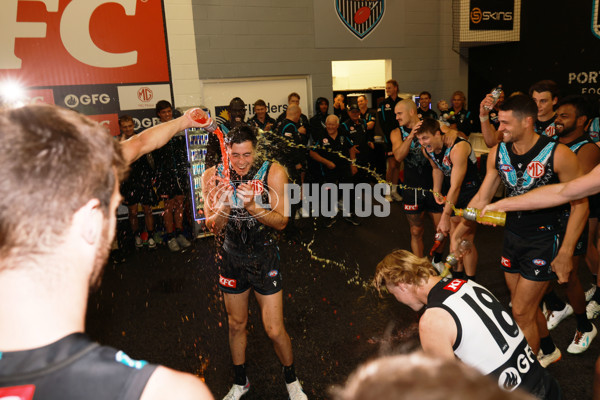
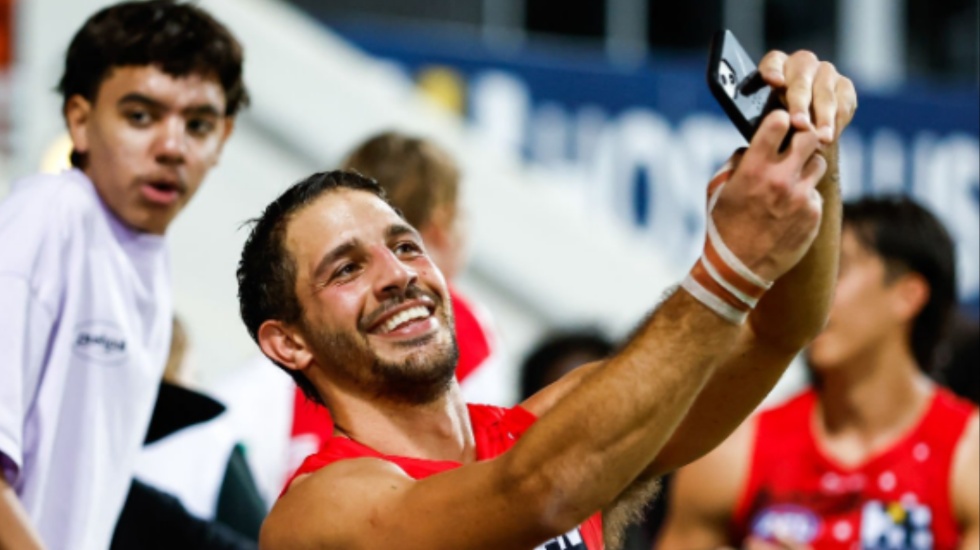
AFL 2023 Round 12 - Port Adelaide v Hawthorn - A-39578418 - AFL Photos
Por um escritor misterioso
Last updated 02 junho 2024
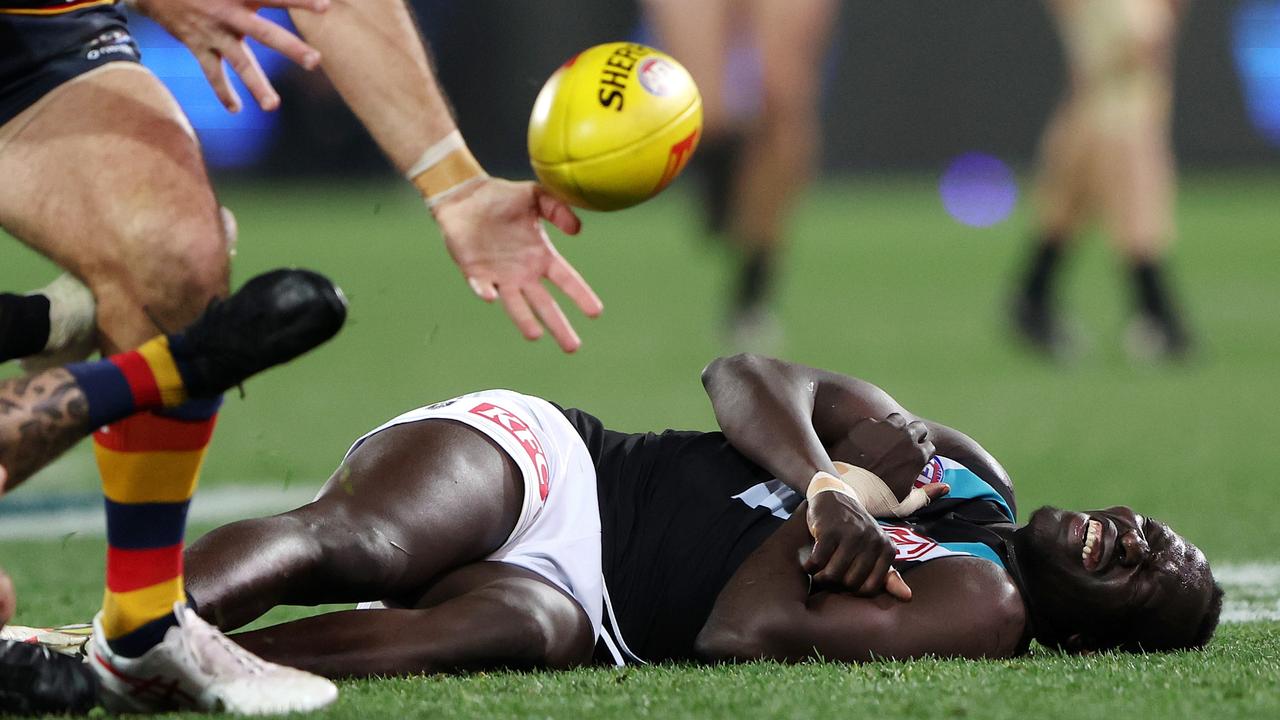
AFL news 2023: Port Adelaide's Aliir Aliir HIA, return to play in

Galleries - AFL Photos

Official AFL Photo Galleries
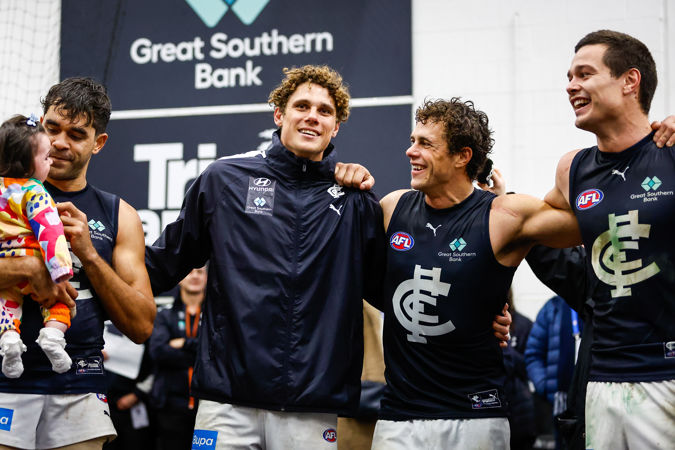
AFL 2023 Round 16 - Hawthorn v Carlton - AFL Photos

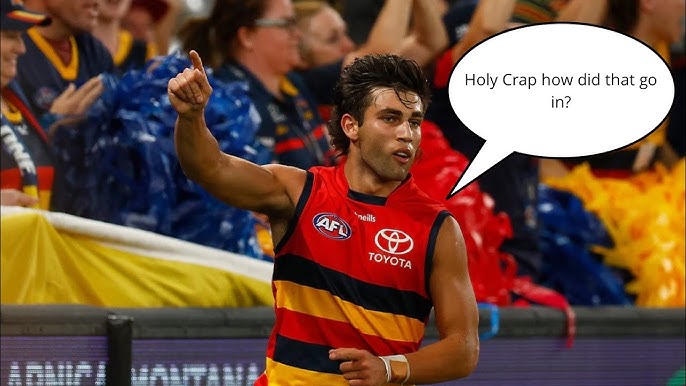
Gun recruit Izak Rankine, exciting forward Riley Thilthorpe lead

AFL 2023 Portraits - Port Adelaide
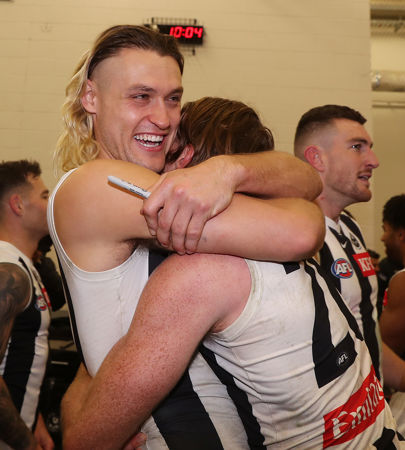
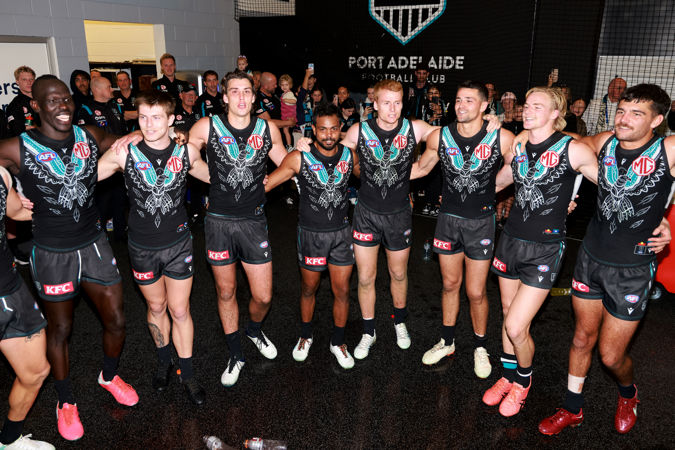
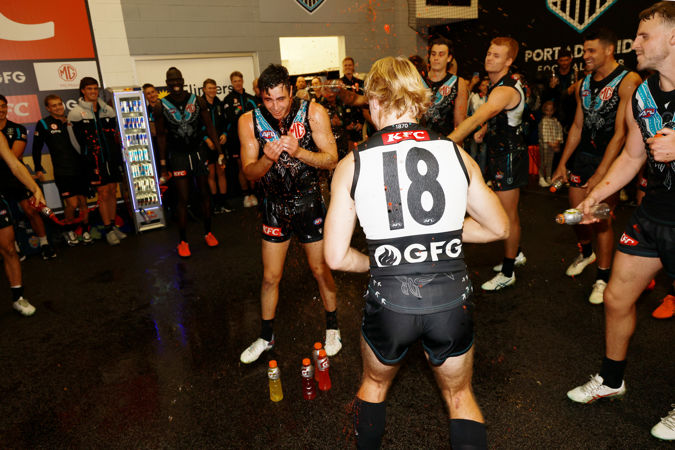
AFL 2023 Round 19 - Port Adelaide v Collingwood - AFL Photos
AFL 2023 Round 12 - Port Adelaide v Hawthorn - A-39578407 - AFL Photos
AFL 2023 Round 12 - Port Adelaide v Hawthorn - A-39578807 - AFL Photos

Match report: Port Adelaide Power v Hawthorn Hawks
Galleries - AFL Photos

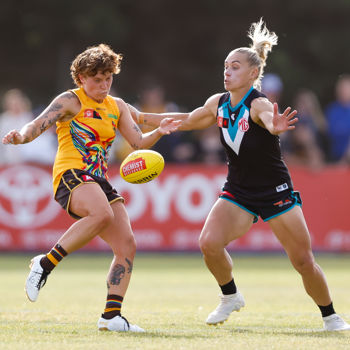
AFLW: 2023 fixture revealed
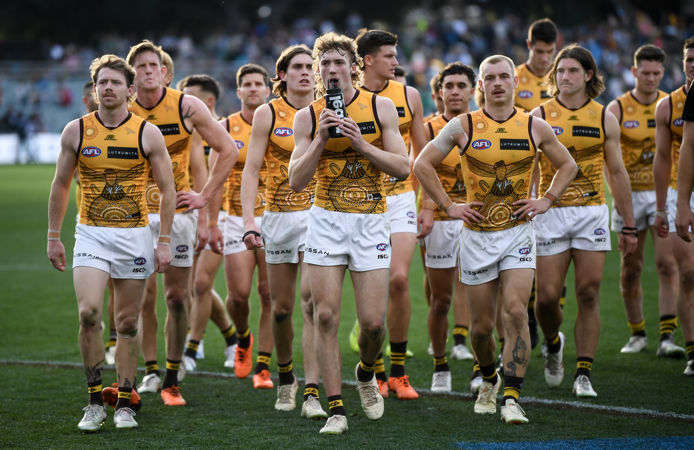
AFL 2023 Round 12 - Port Adelaide v Hawthorn - AFL Photos
Recomendado para você
-
 AFL Record Round 12, 2023 by Crocmedia Lifestyle1 - Issuu02 junho 2024
 -
 Footyology's AFL Team of the Week: Round 1202 junho 2024
 -
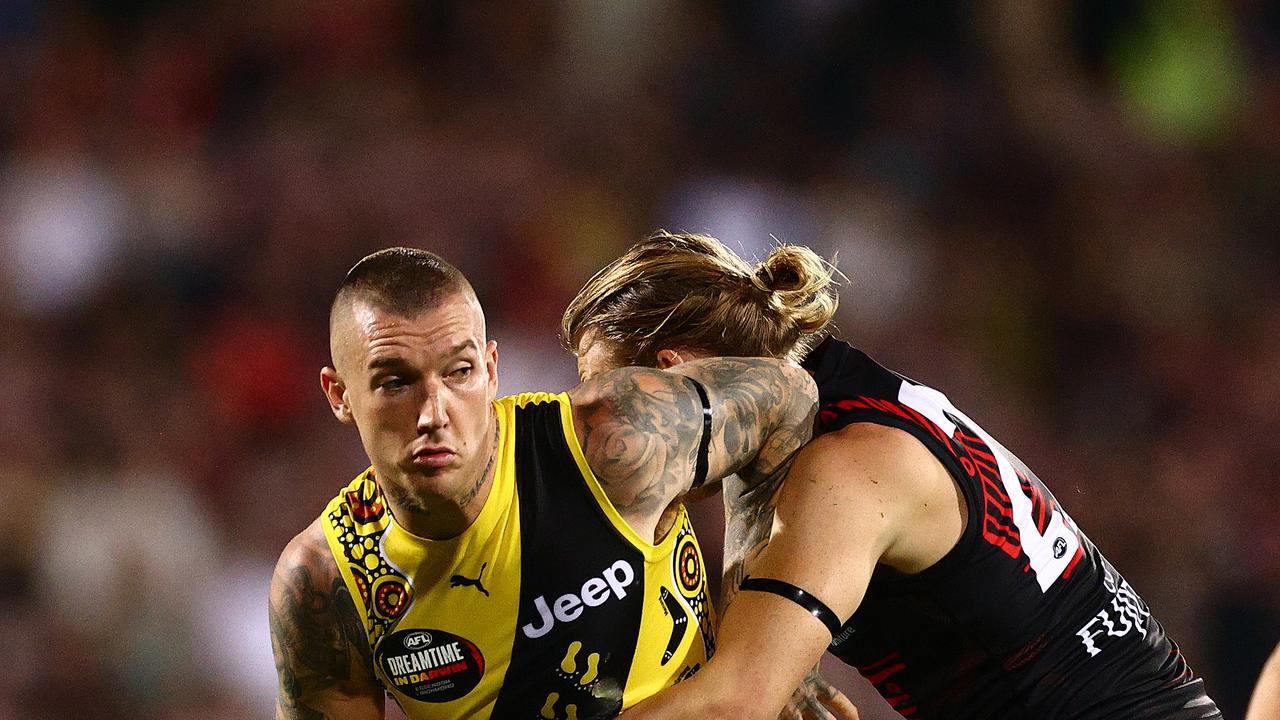
 AFL 2023 Round 12 - GWS v Richmond02 junho 2024
 -
 AFL Round 12 Tips 202302 junho 2024
 -
 Gallery: Round 12 BTS02 junho 2024
 -
 AFL Record – Round 12, 2021 by Crocmedia Lifestyle1 - Issuu02 junho 2024
 -
Round 12 AFL teams: Paddy Dow returns, Bulldogs axe three as Stefan Martin back02 junho 2024
-
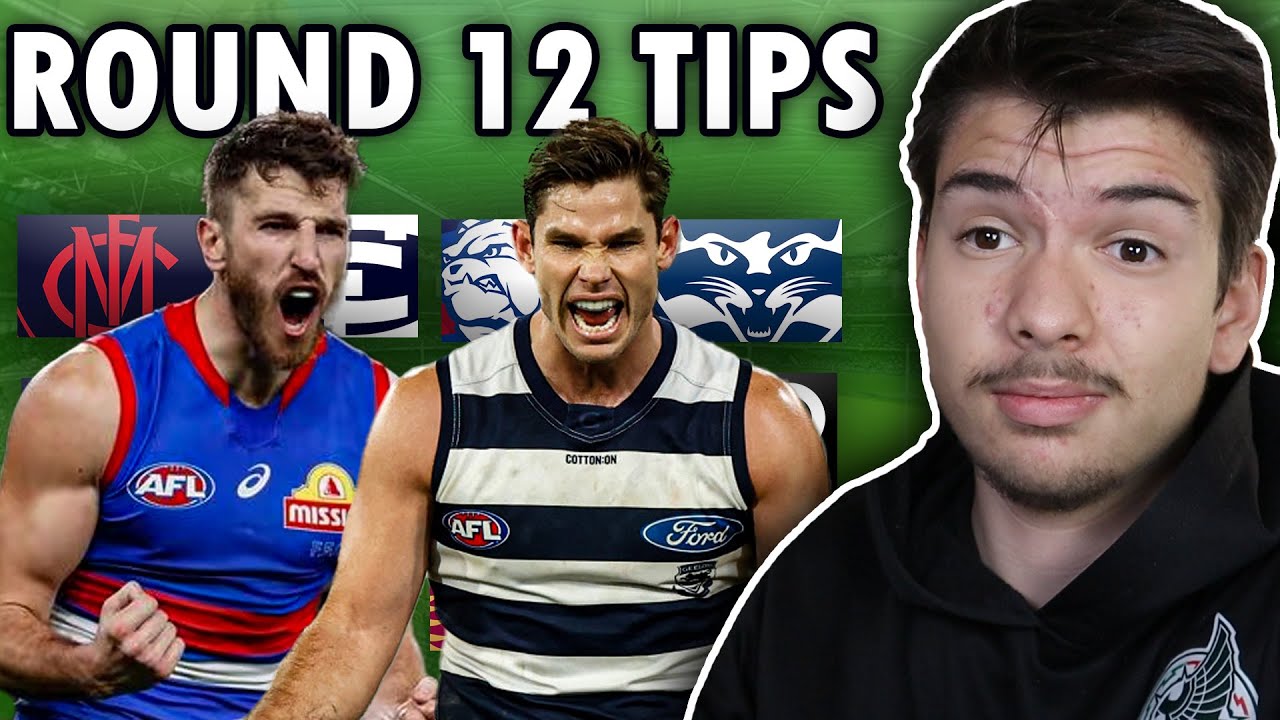 Round 12 AFL Tips + Predictions 202302 junho 2024
 -
 West Coast to take on Carlton at SCG as AFL releases amended round 12 fixture due to COVID chaos02 junho 2024
 -
AFL - The Round 12 Toyota AFL Sir Doug Nicholls Round02 junho 2024

você pode gostar
-
 Raising Cane's chicken restaurant is coming to East Lansing02 junho 2024
 -
 What's The BEST Custom Rom in 2017 for Moto G4 Plus ? Lineage Os02 junho 2024
 -
 Jovens Amigos Jogando Poker Festa Casa Jogar Jogos Diversão02 junho 2024
 -
 Winter Freeze Dance - The Kiboomers Preschool Movement Songs02 junho 2024
 -
 Piloto De Motocross Isolado Sobre O Backgrorund Branco. Estilo Dos Desenhos Animados. Ilustração Conceitual Sobre O Esporte De Motocross. Royalty Free SVG, Cliparts, Vetores, e Ilustrações Stock. Image 7783523102 junho 2024
 -
Cover versions of Night of the Werewolves by Powerwolf02 junho 2024
-
 I Floopalisti - Amici del Floopaloo - Matt02 junho 2024
 -
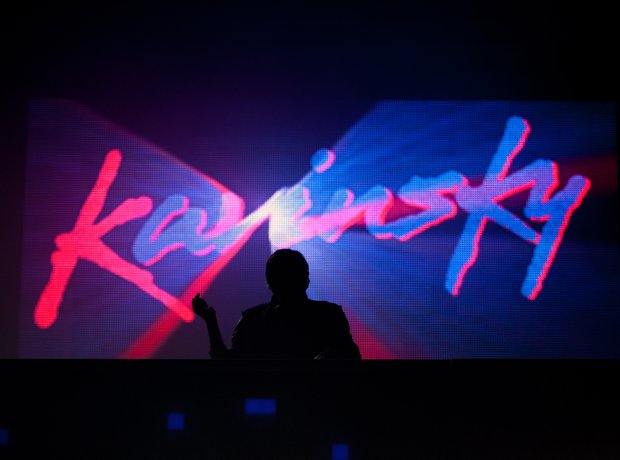 6. Kavinsky - 'Nightcall' - 14 Amazing Blockbuster Movie Songs You Need To Hear - BigTop4002 junho 2024
 -
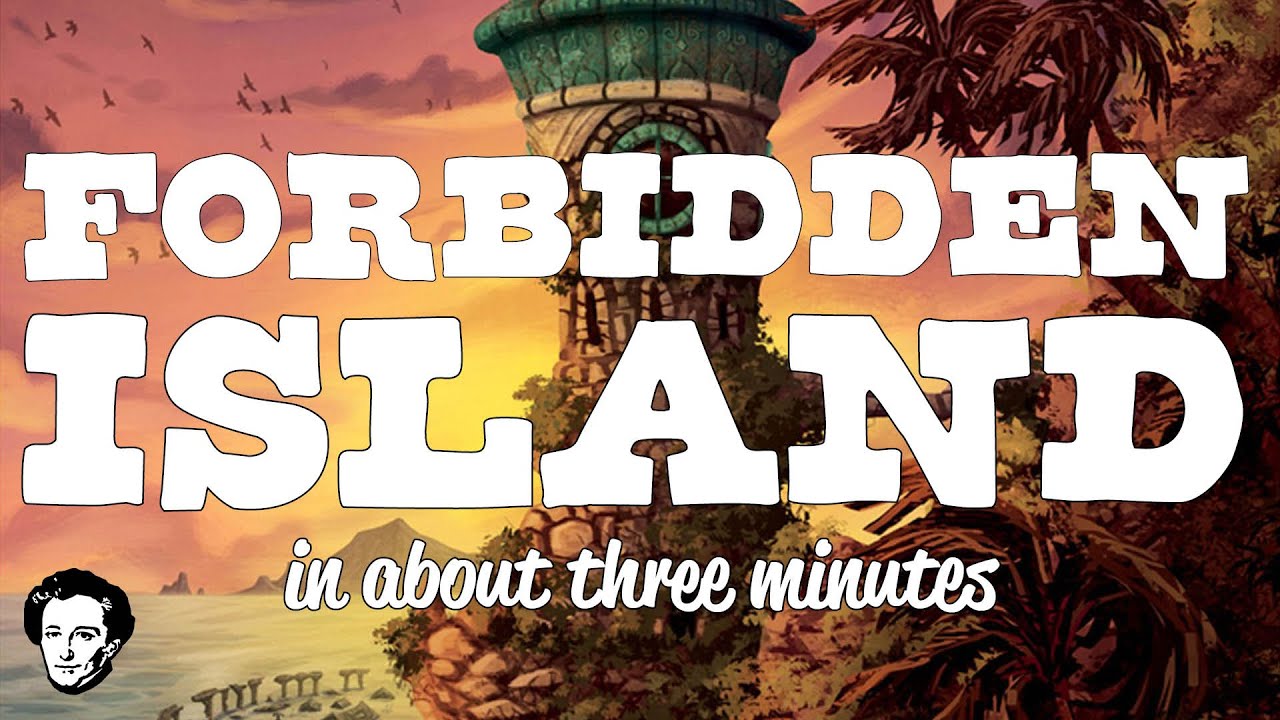 Forbidden Island in about 3 minutes02 junho 2024
 -
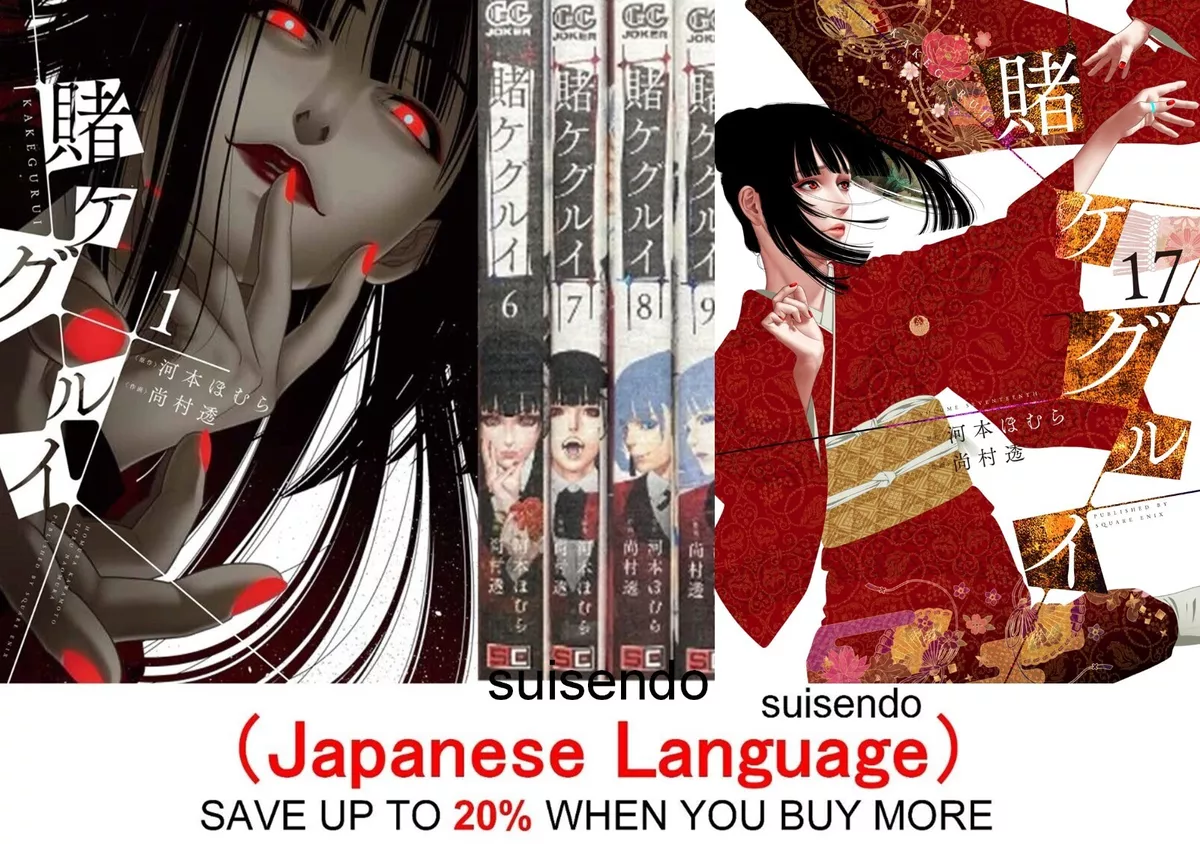 Kakegurui Compulsive Gambler Vol.1-17 Japanese Manga Book Anime Set Comics02 junho 2024
